May 4, 2021
In this tutorial, you will learn how to create a very simple Web AR Project with an image.
First of all, you will need an XR.+ account, so go to the register page and create a free acount. Follow the steps to complete your registration, and now, let’s start your project!
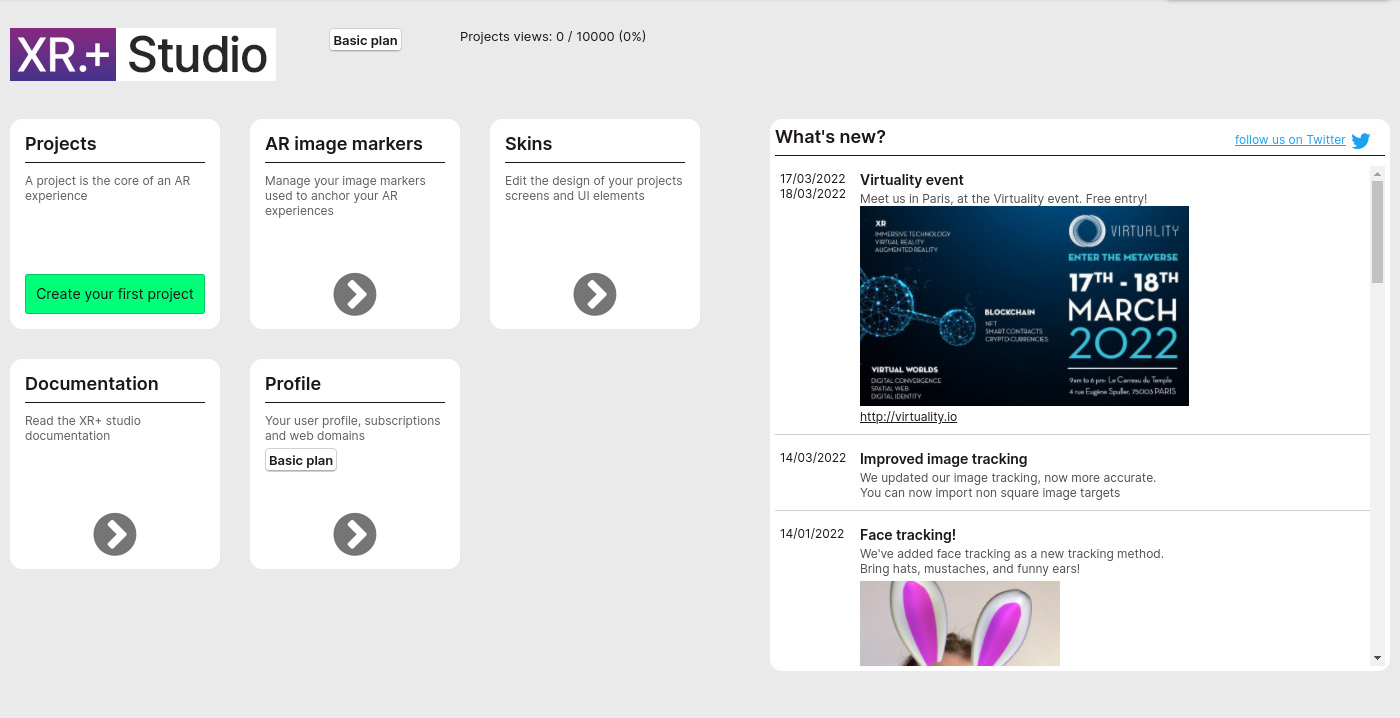
On the XR+ studio home screen, click on the “Create your first project” button.
Name your project and click on “Create project”.
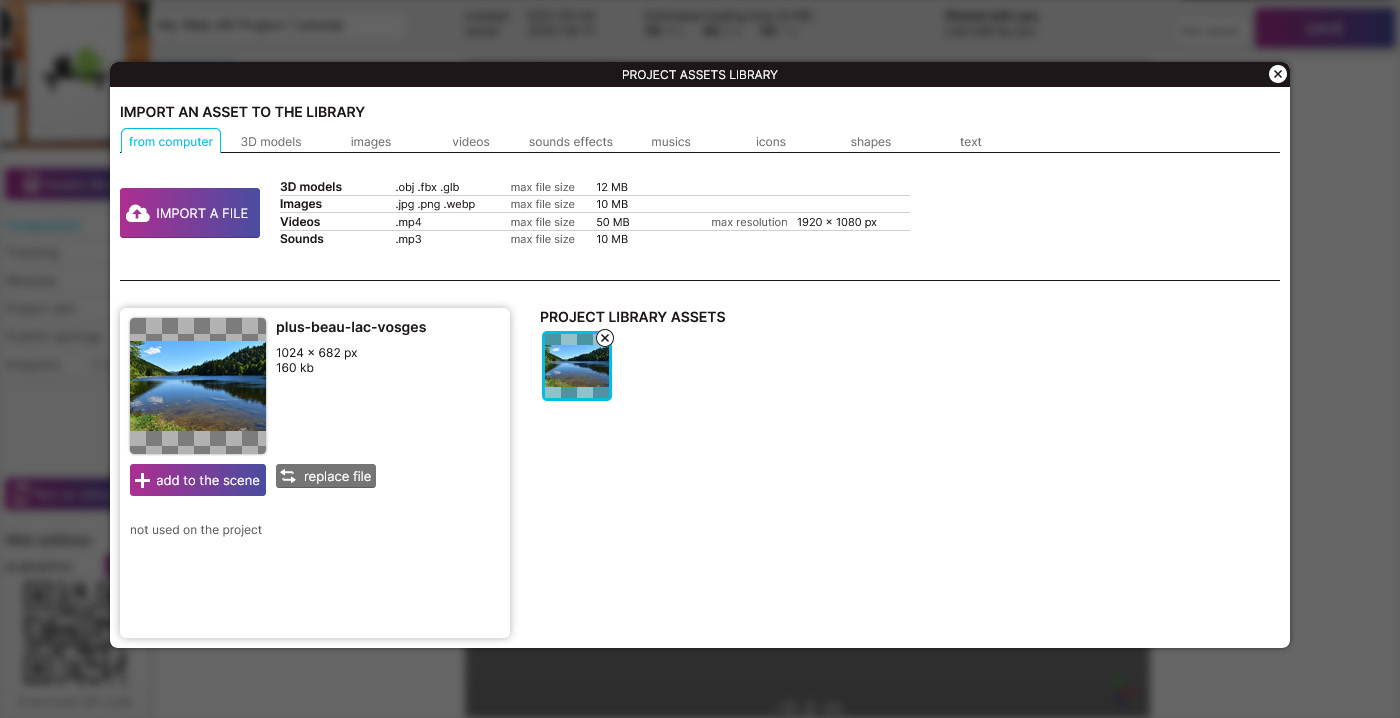
Welcome to the main project edition screen! Open your assets library by clicking on “Open library”, which is empty for now.
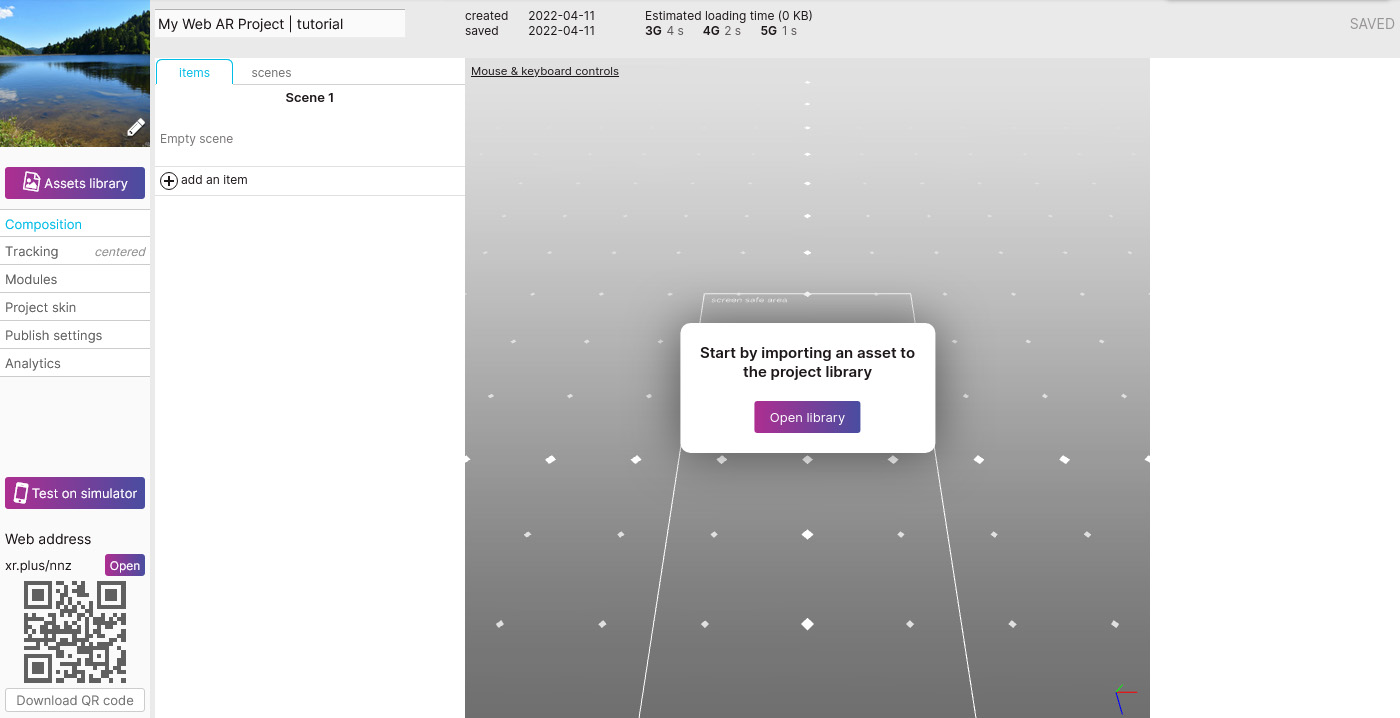
Import your image by clicking on the button named “Import a File”, then click on the “Add to scene” button.
Now, we have your image in the 3D space of the editor. You can move it by selecting one of the two main tools of the view in the bottom left corner. Place it at your will. You can resize it or move it by entering the coordinates in the tool bar at the bottom of the 3D view.
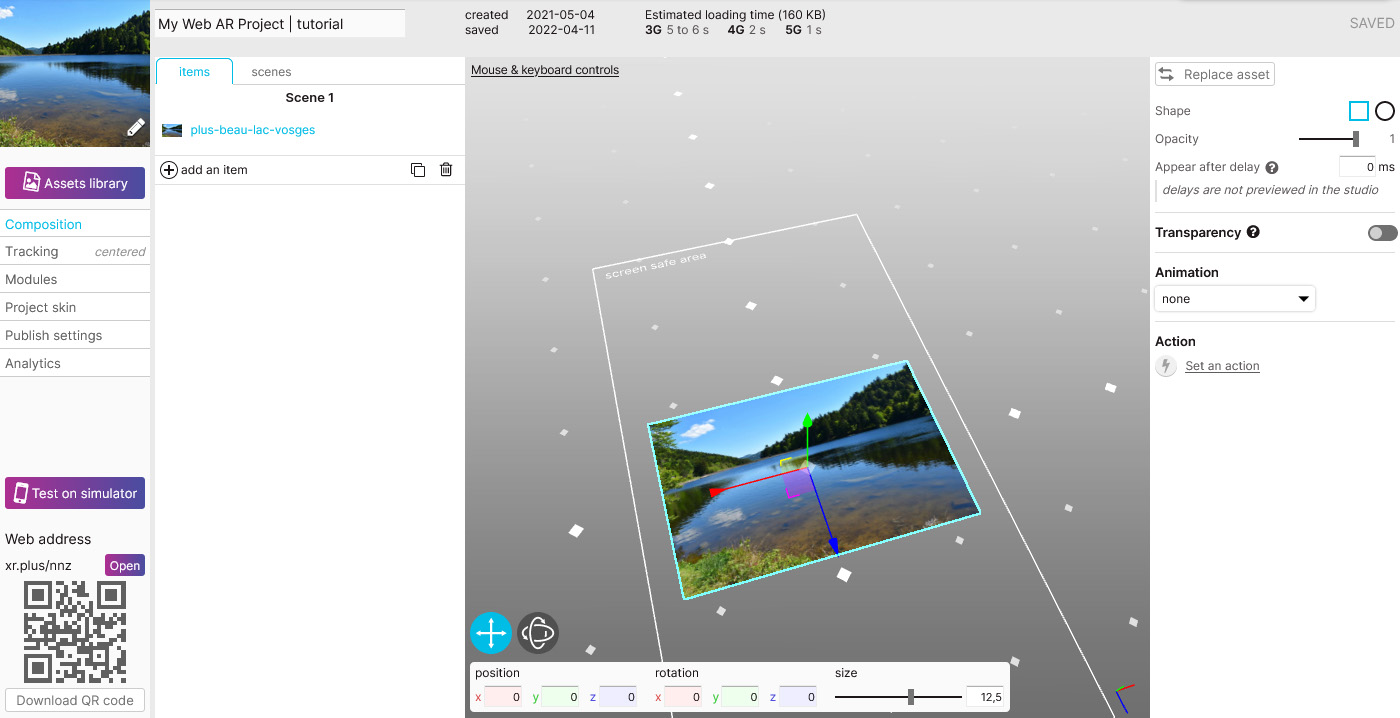
Your project is already published and live, above to the QR code, you can see the public link to the project, in this case: https://xr.plus/nnz (yours will be different).
Type this web address on your phone web browser or scan the QR code in the editor to view the project in web augmented reality.
Congratulation you’ve made it!
April 26, 2021
XR+ provides the highest level of compatibility with smartphones to deliver advanced AR / VR experiences to 3+ billions of end users
 | iOS iPhones and iPads running on iOS 14 or newer, that’s all iOS devices launched since 2017 Android Android phones launched since 2020 with a minimum of 2GB RAM |
WebXR projects made with the XR+ studio are compatible with all major web browsers
| Chrome | Safari | Firefox | Samsung internet | Edge |
XR+ supports Oculus Quest 1, 2 & 3, Meta Quest Pro, PICO 4, and the combo Chrome + Oculus / HTC Vive on computers
April 21, 2021
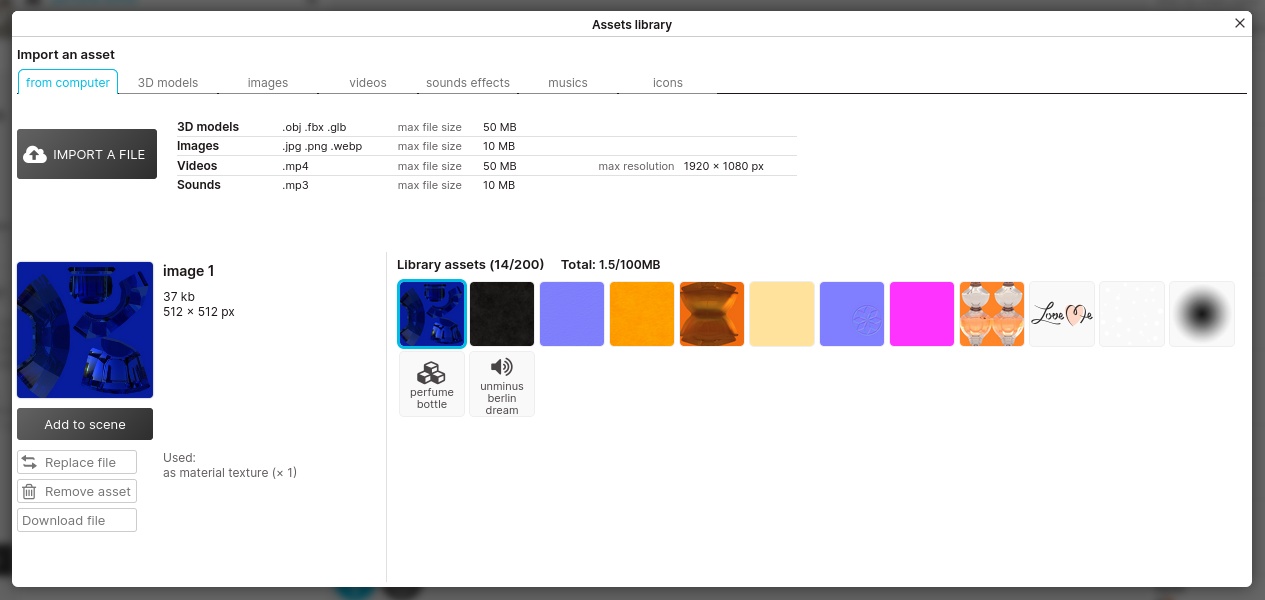
Import assets to the project library so you can use them in scenes, overlays, modules…
3D models
You can import .obj, .fbx and .glb (compressed gltf) files up to 12 MB.
The 3D models can be animated.
We recommend importing 3D models with less than 100 000 triangle faces (polygons).
Images
You can import .jpg, .png and .webp images
Videos
You can import .mp4 videos files
Maximum resolution: 1920 x 1080 pixels
Maximum size: 50MB
When imported, videos files are resized for webXR performance considerations.
To produce, edit , and crop your video before importing them to the studio, we recommend using Pikimov, a free web-based video editor.
Audio files
You can import .mp3 files up to 10 MB.
Each XR+ project is made of one or several scenes, on the basic plan your have have up to 5 scenes.
Each scene is independent, you can setup actions to switch between scenes, take a look at the bird slideshow template as a multiple scenes project example.
Open multi scenes project template
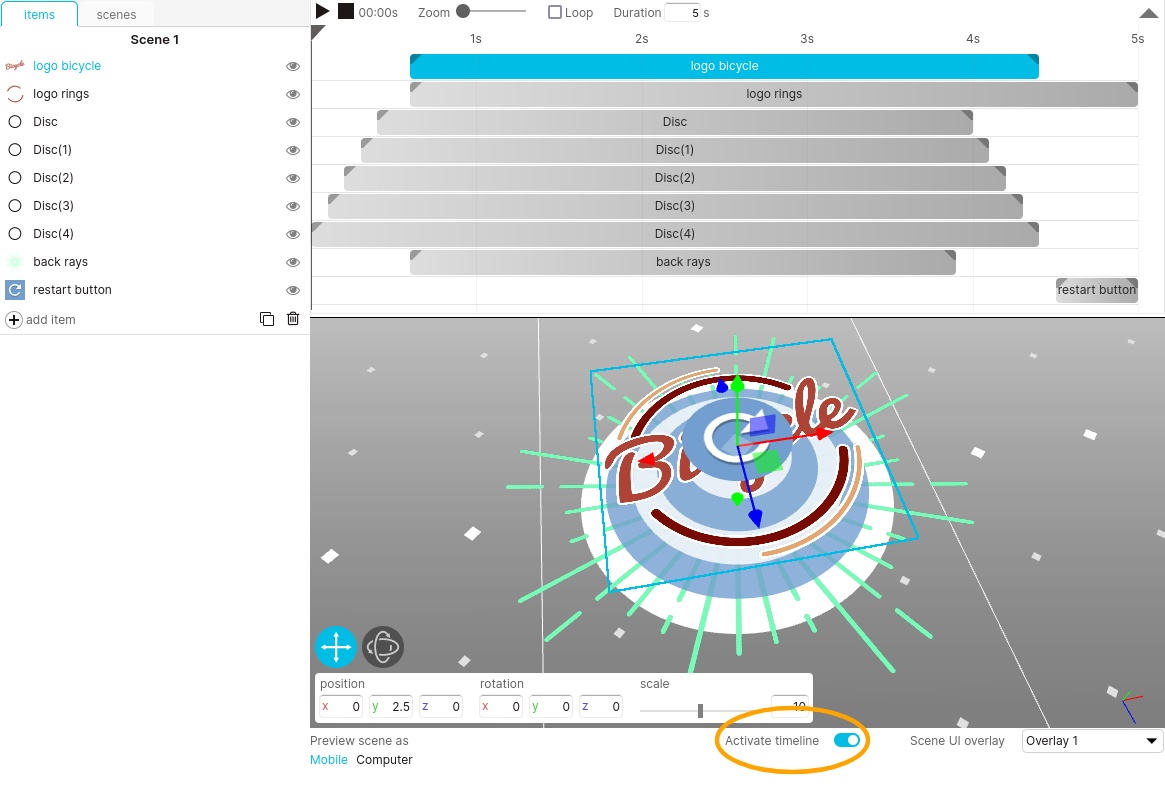
Activate the timeline on a scene to setup in & out timings for each of the scene items
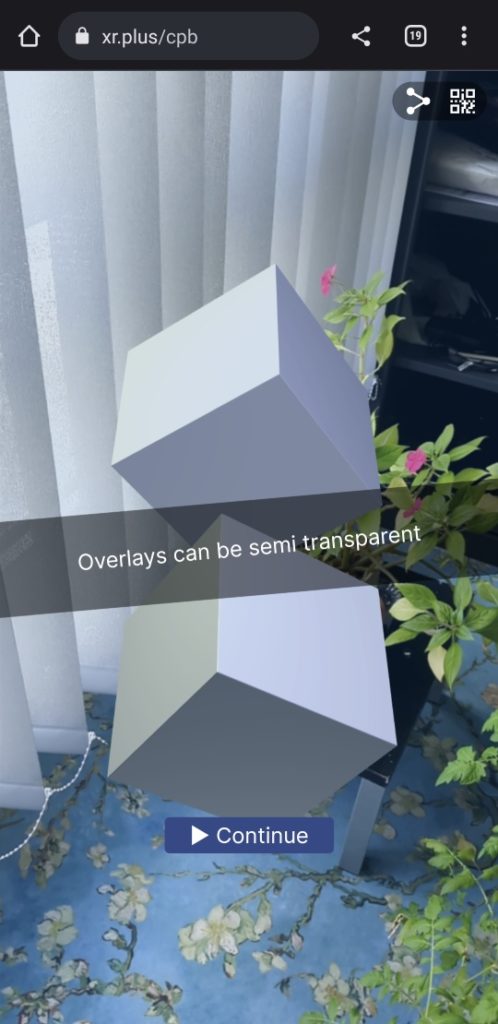
Each scene can have an overlay linked to it. An overlay is an extra layer of UI elements like buttons, shapes, or images. Overlays can be simply decorative or used to trigger interactions.
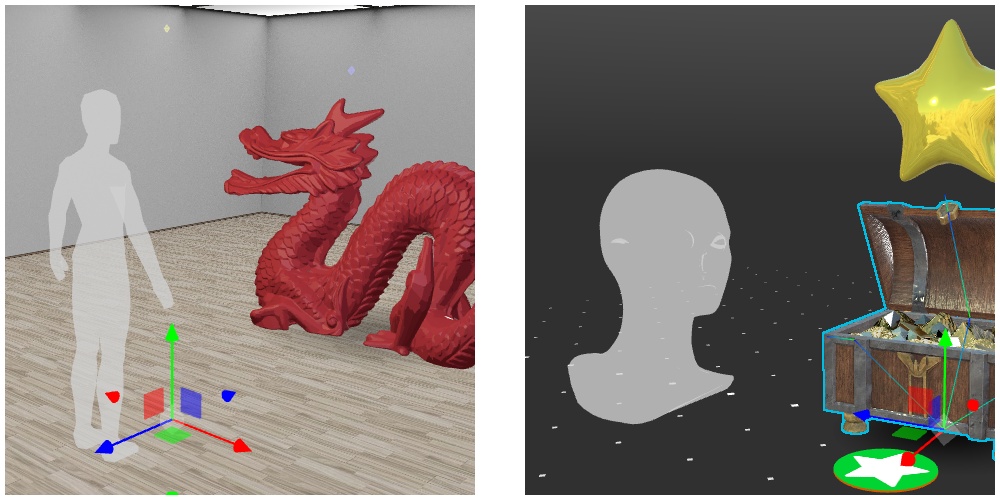
You can set the starting user position when doing 3DOF or 6DOF tracking on computer and headset.
In the composition, the starting user position is displayed as a semi transparent ghost, either a bust or a full body silhouette.
You can set a global scale for each device, so that an item can be small on mobile, but much larger on headset.
On multiple scene projects, use actions to switch between scenes (change scene, next scene, previous scene)
January 21, 2023
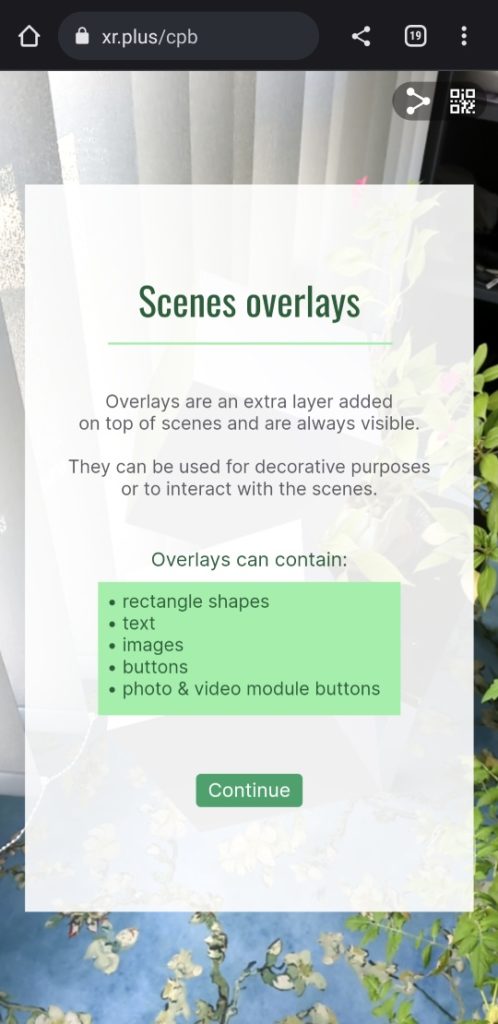
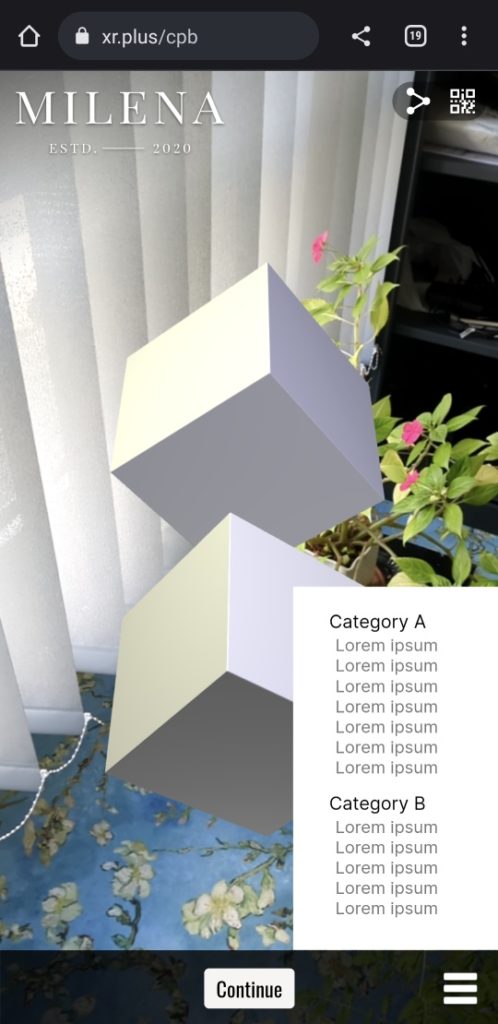
An overlay is an extra layer of UI elements such as buttons, images, rectangle.
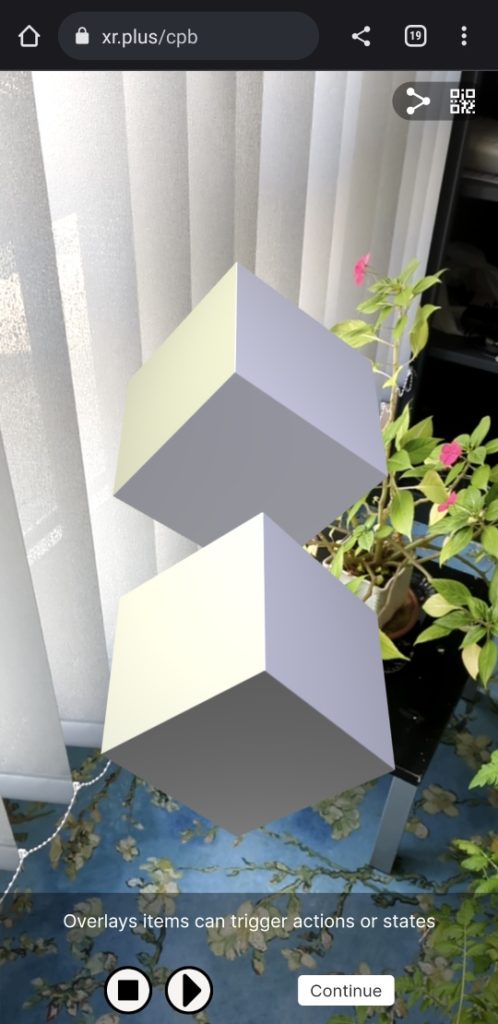
Overlays can be simply decorative or used to trigger interactions. Each scene can have an overlay linked to it.
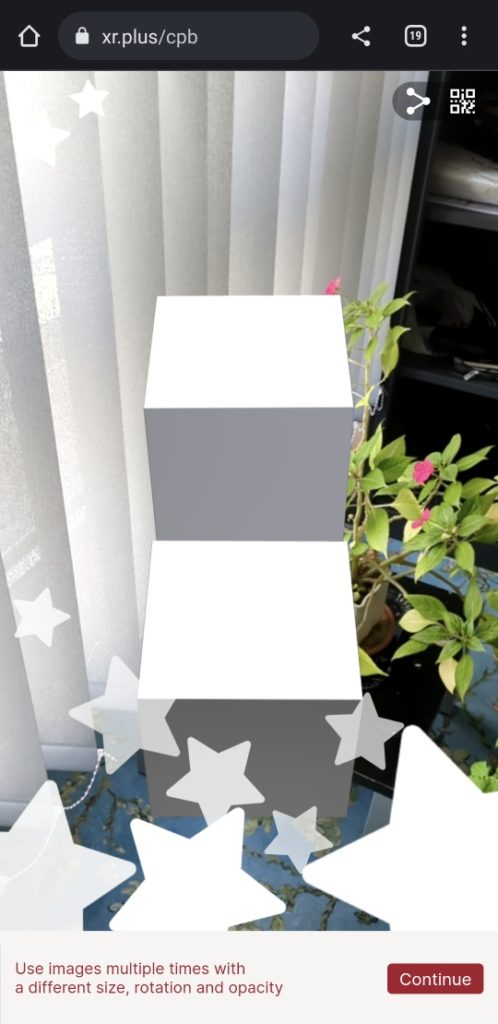
Overlays can contain:
• rectangle shapes
• text
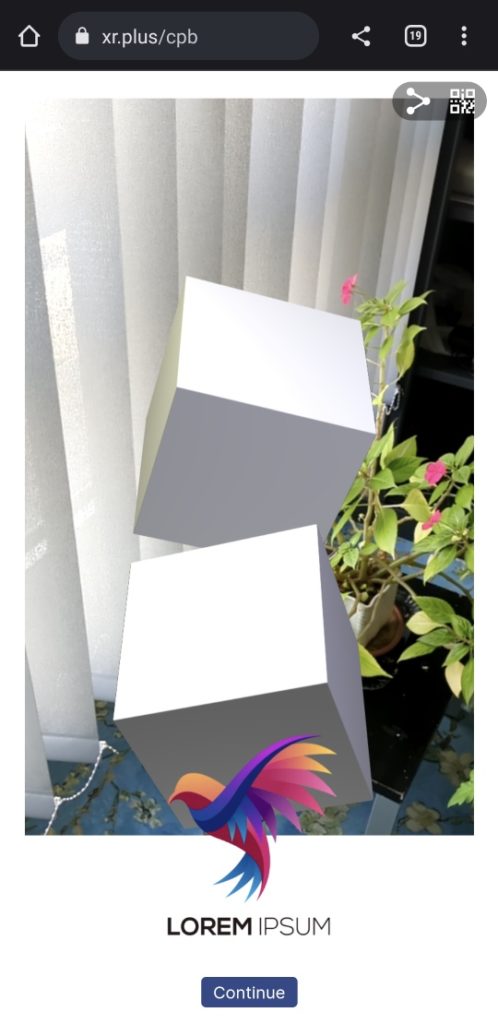
• images
• buttons
• photo & video module buttons
View overlays project template example

to create and edit overlays, go to the ‘Scenes overlays’ section on the left column menu.
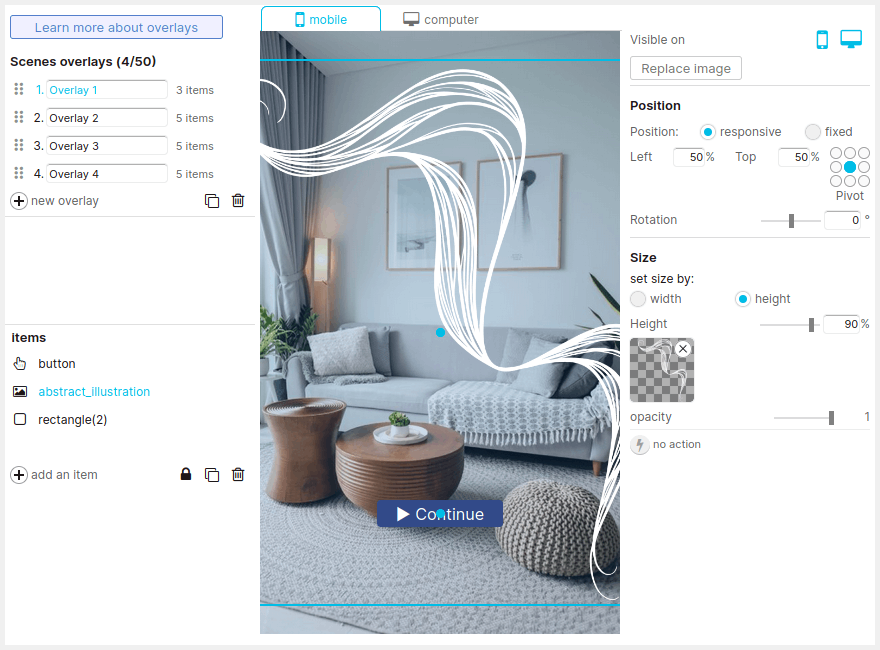
Left column:
Middle column:
This is the overlay preview, use the tabs at the top to switch between mobile and computer preview
Right column:
Edit properties of the selected overlay item:
April 21, 2021
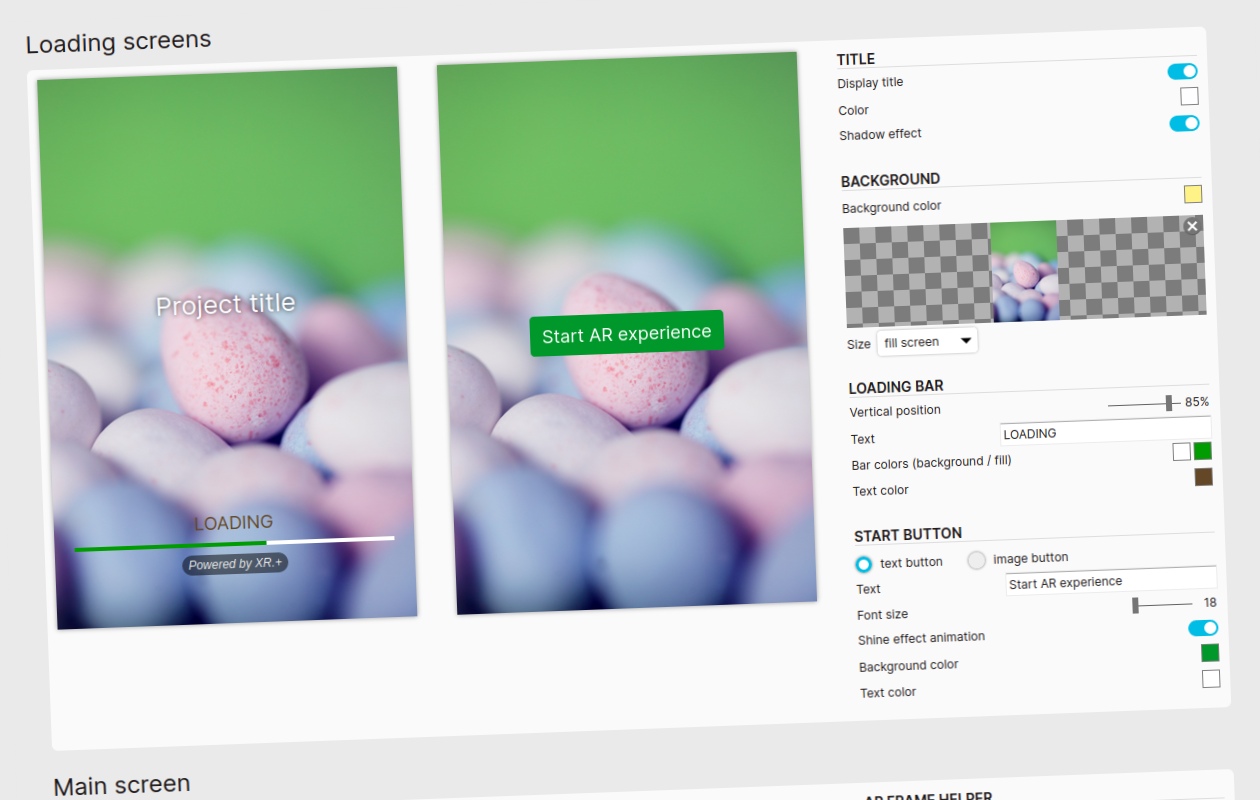
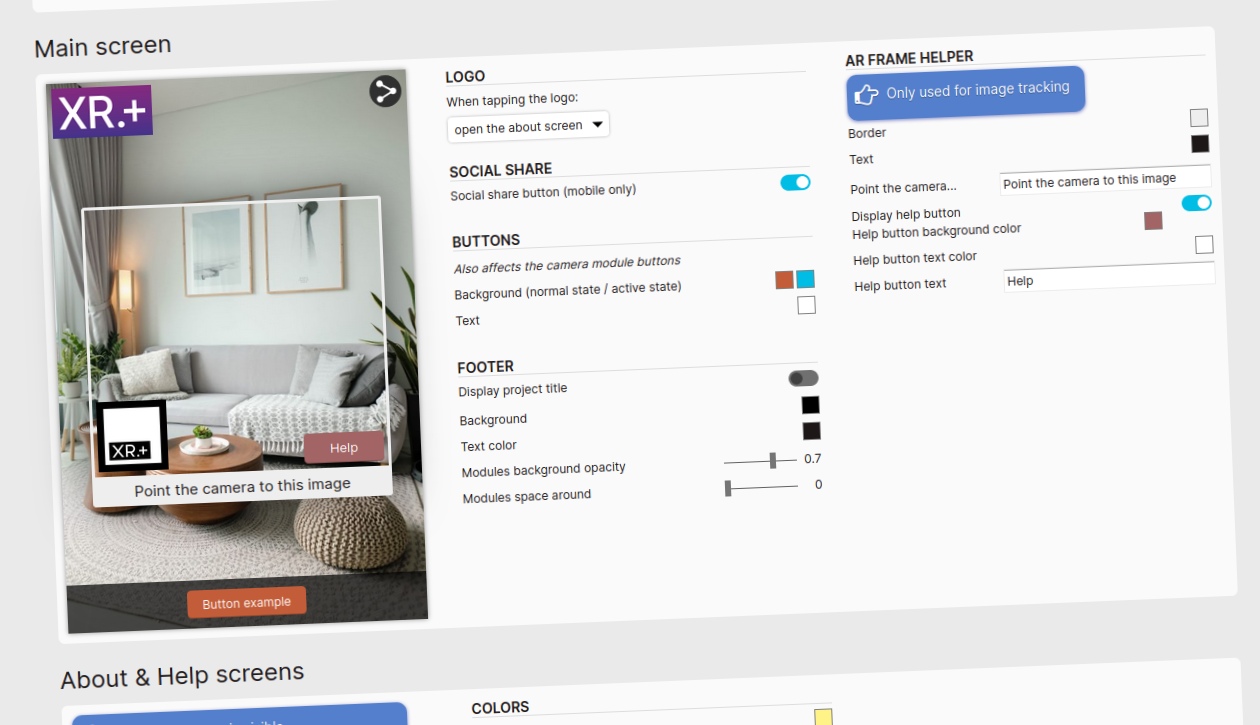
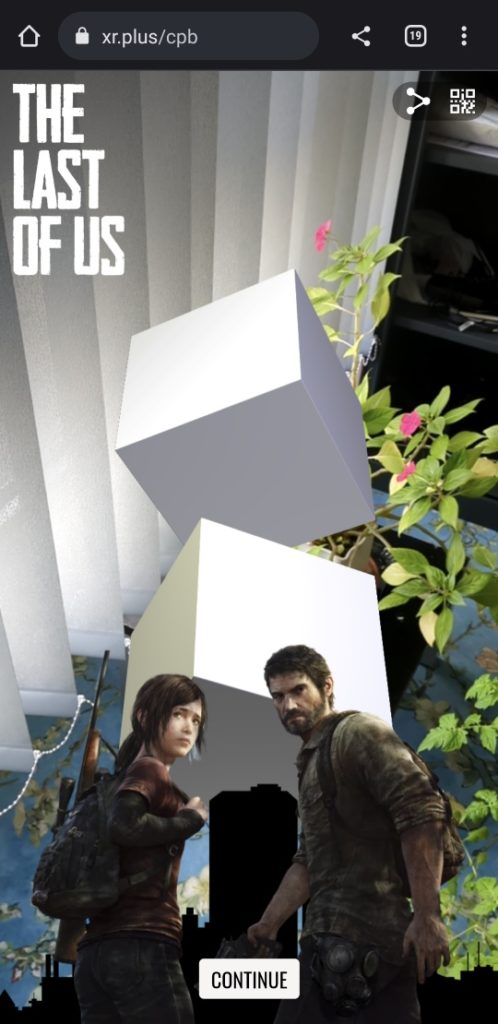
Create skins to customize the design of the loading and start screens of your project.
They key screens that can be customized are the loading, the start, and the main screens.