
Let’s have a simple step by step tutorial on making a web AR scene from images.
This tutorial is about making a composition from images, if you’re looking for the 3D model tutorial, go here
If you don’t have yet an xr.plus account, create one
Click here to create a free account
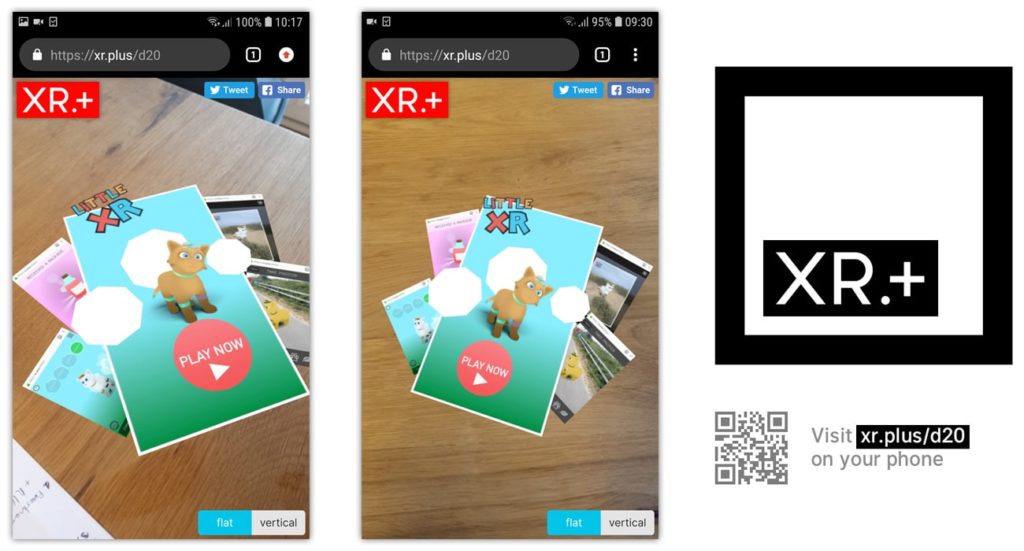
We are going create a simple composition that will look like this when finished.
You can download all the images used in this composition here: tutorial-composition.zip. Of course you can also use your own images.
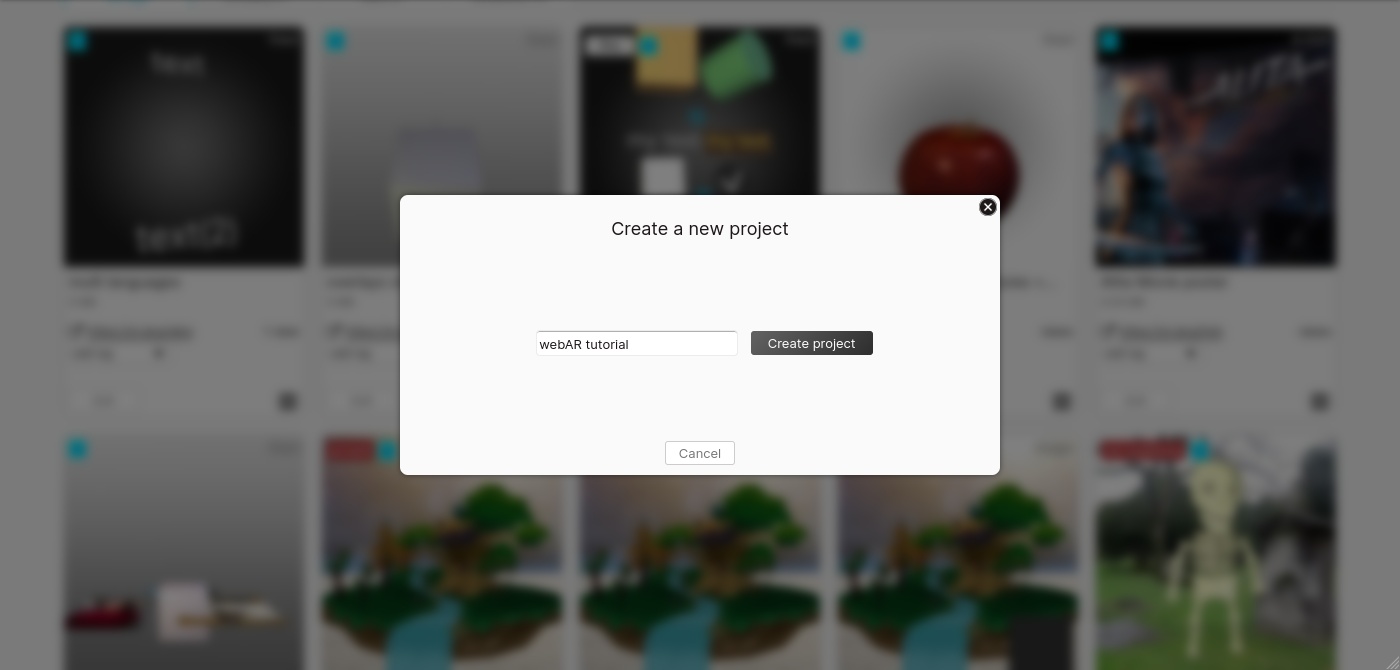
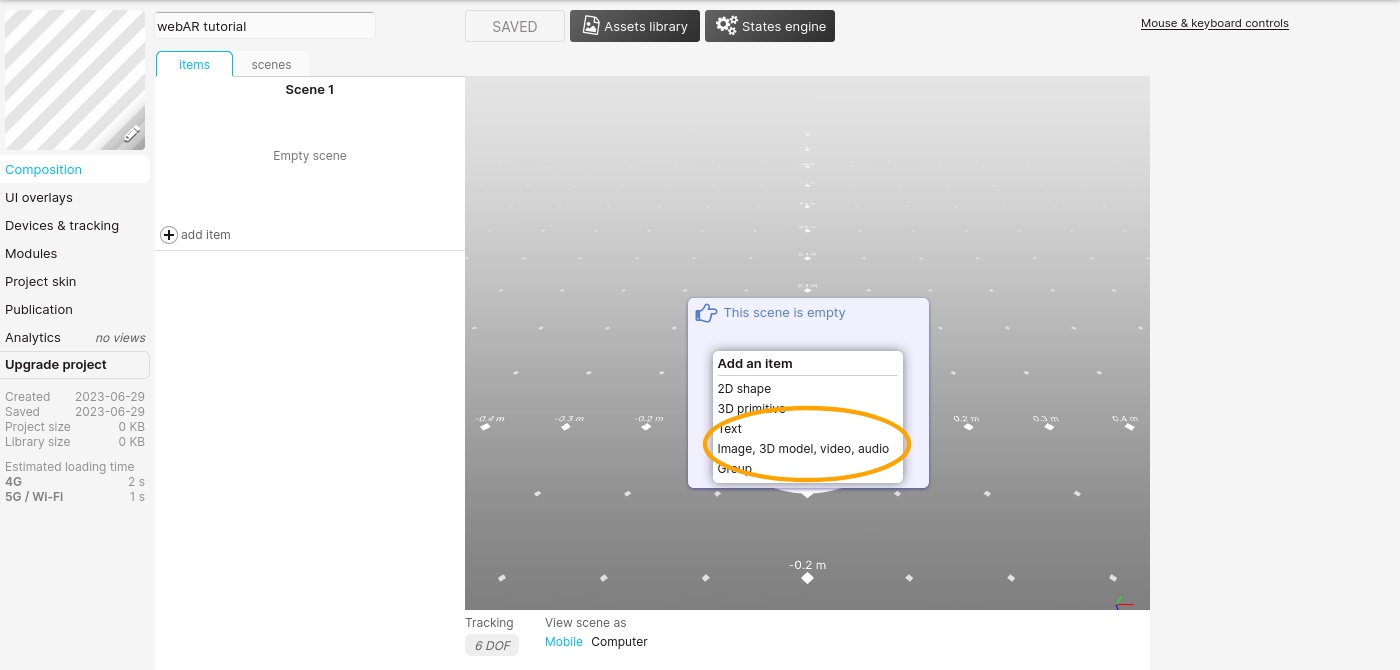
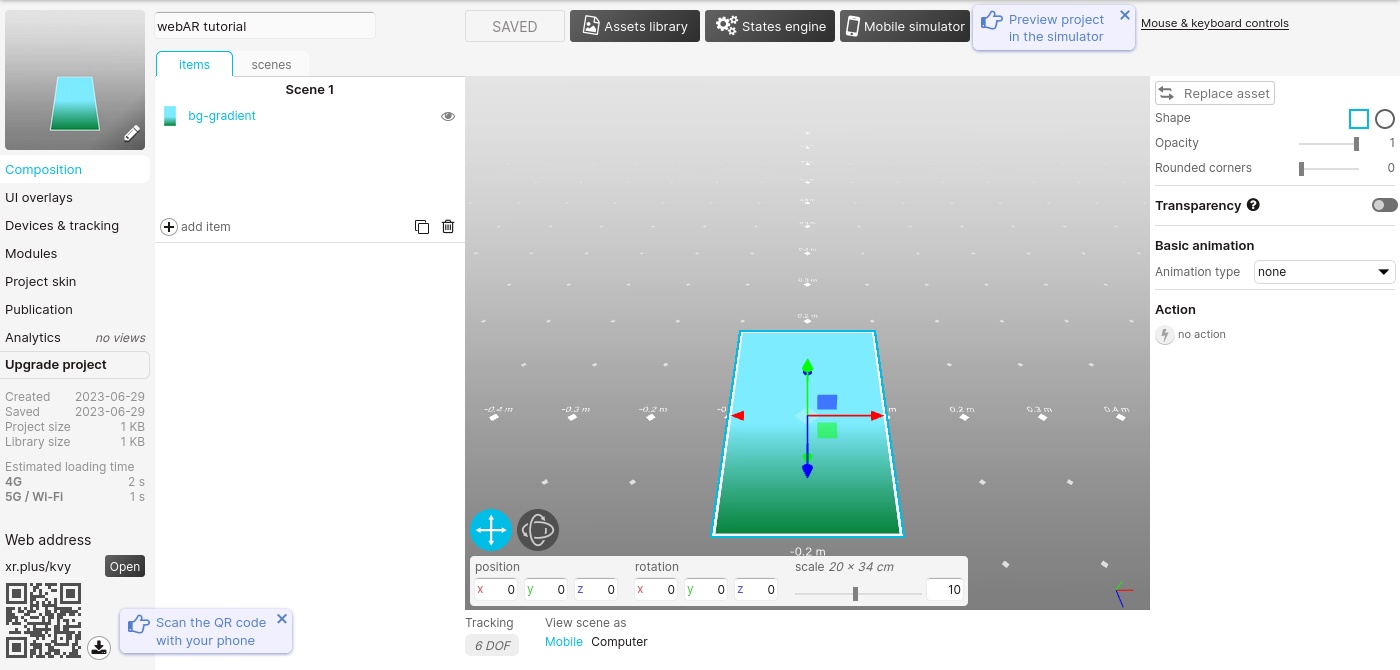
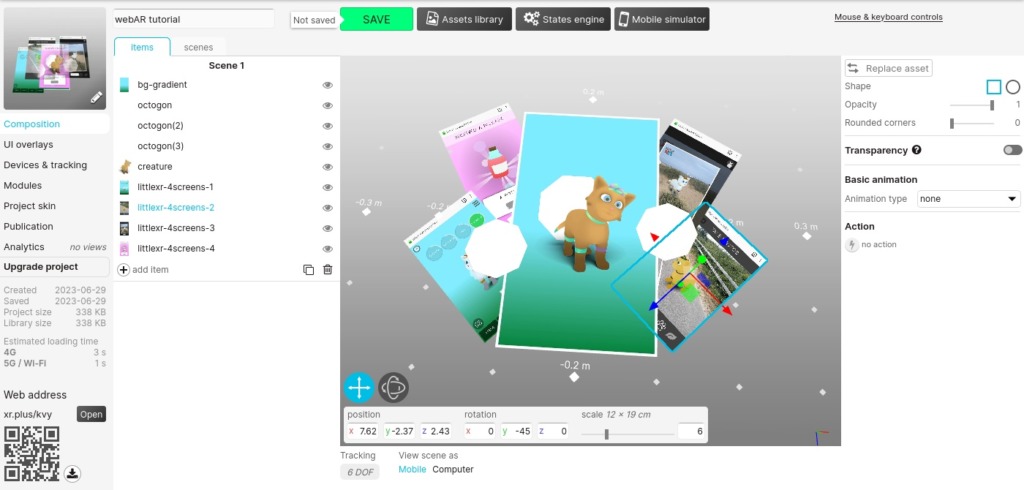
in the XR+ studio, create a new project.
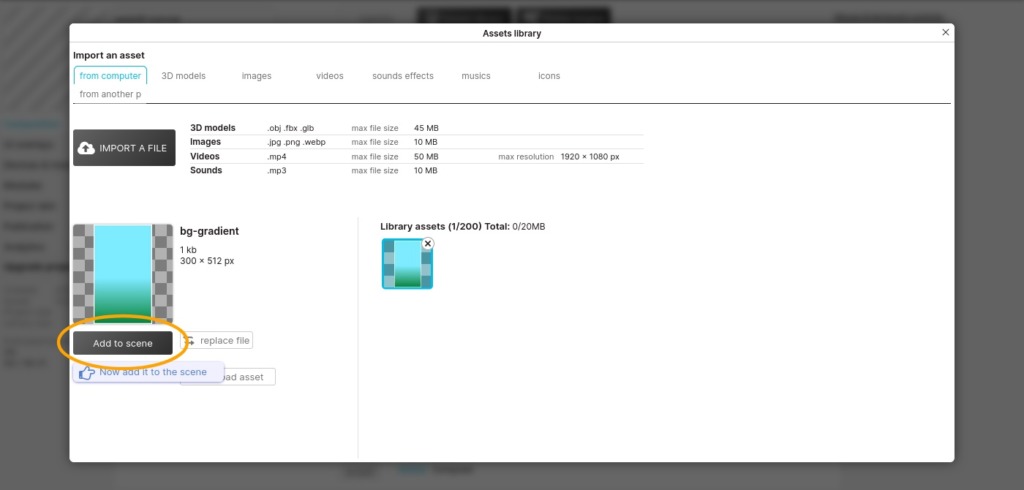
In the list, choose ‘image’, then ‘open assset library’, click “import a file”. Import the file ‘bg gradient.png’, then click on “add to scene”.
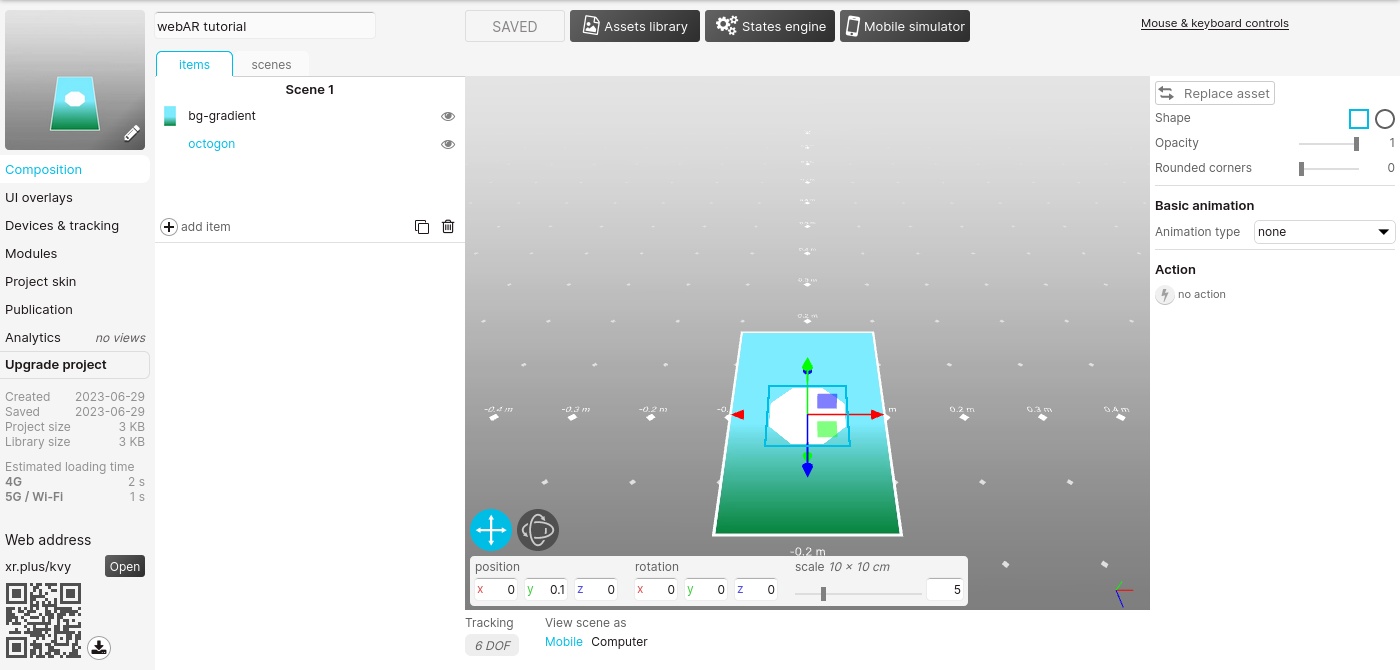
Next, reopen the library and import the ‘octogon.png’ image and add it to the scene.
Scale down a bit the item and place it to a bit on the left. You can use the rotation tool to give it a nice subtle angle.
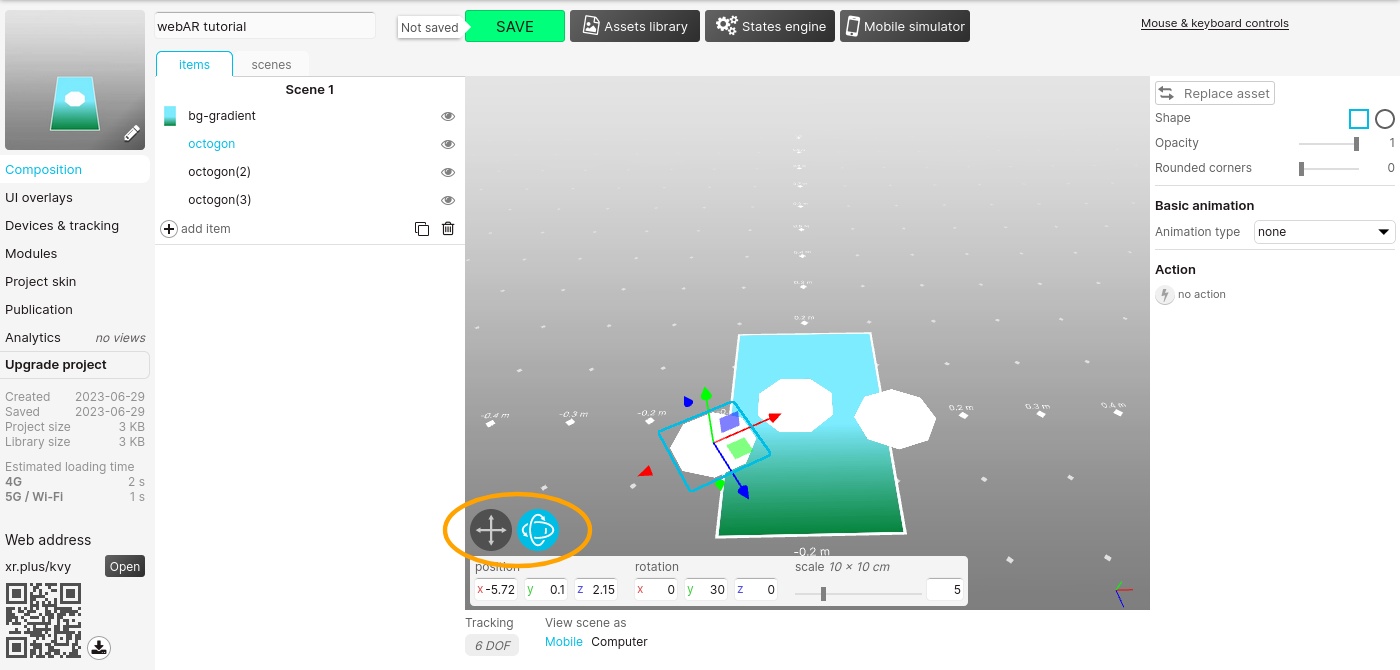
Open the library to add it one more time to the composition and place it in the center, then add it one last time and place it a bit to the right (you can also duplicate it from left column with the duplicate icon).
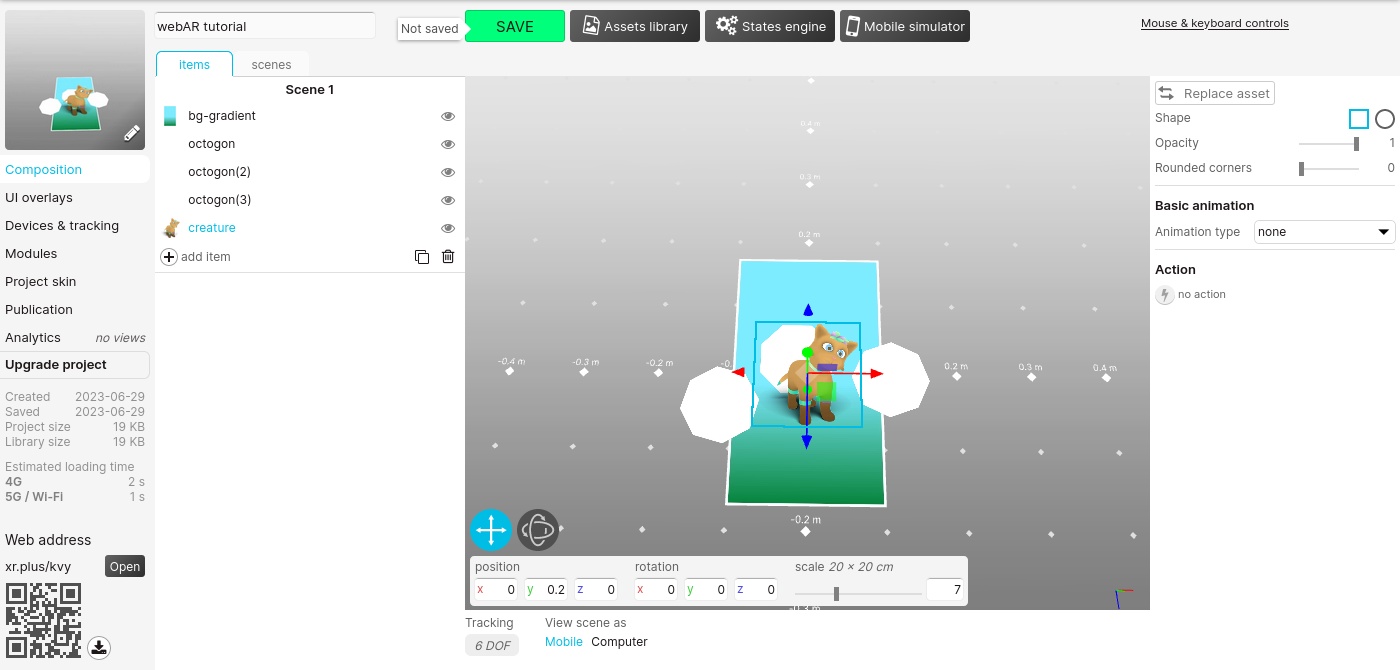
Now import the ‘creature.png’ file, add it to the scene, scale it down a bit, and move it a bit in front and a bit down.
One by one, import the 4 screenshots images and place them at the back of the composition.
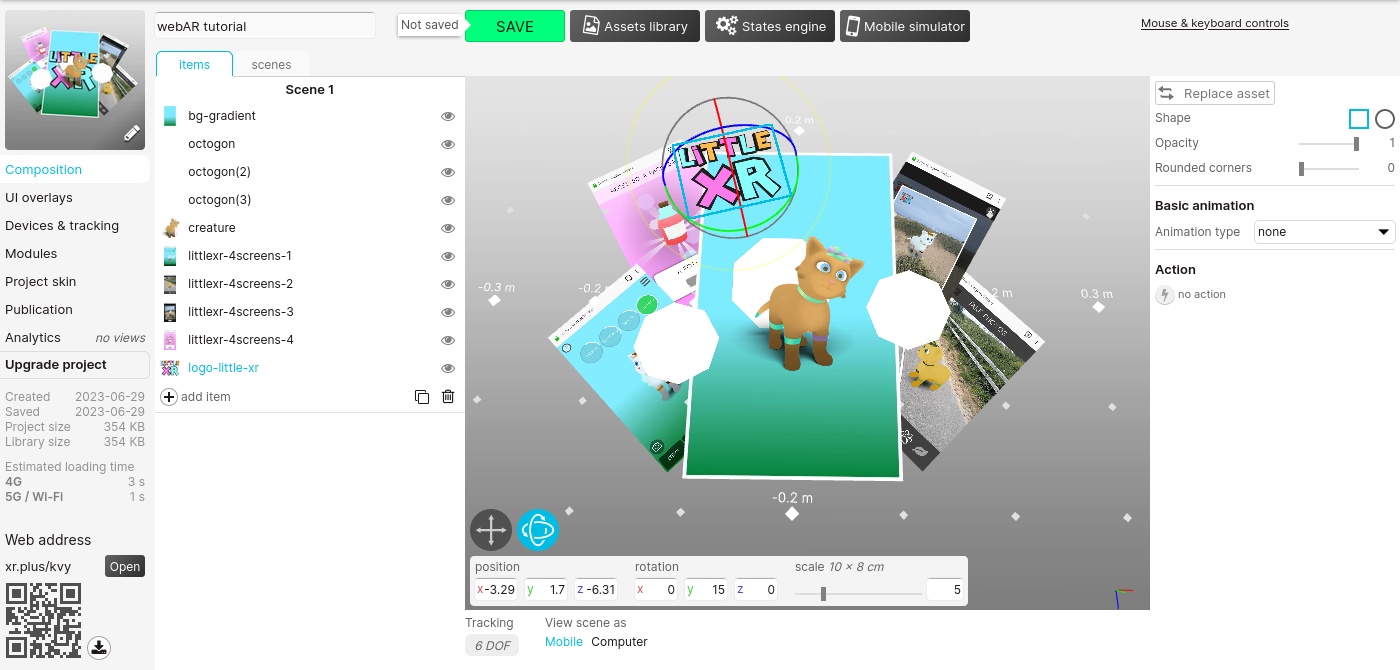
Import the ‘Little XR’ logo and place it on the top left area of the composition.
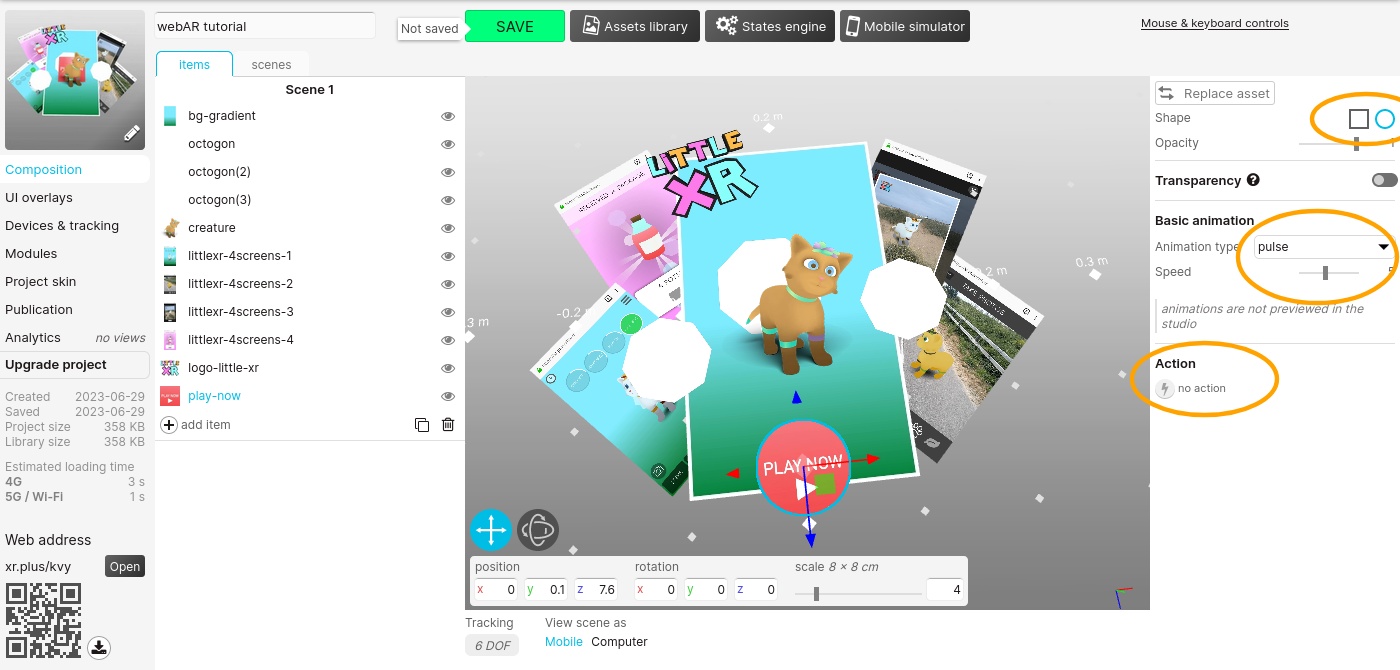
Finally, import the ‘play-now.png’ image, add it to the composition, and set its shape to circle, to make a nice rounded button.
Let’s bring attention to this button by adding a pulse animation. Note that the animation is not visible on the editor, but only when viewing the project on your phone or in the simulator.
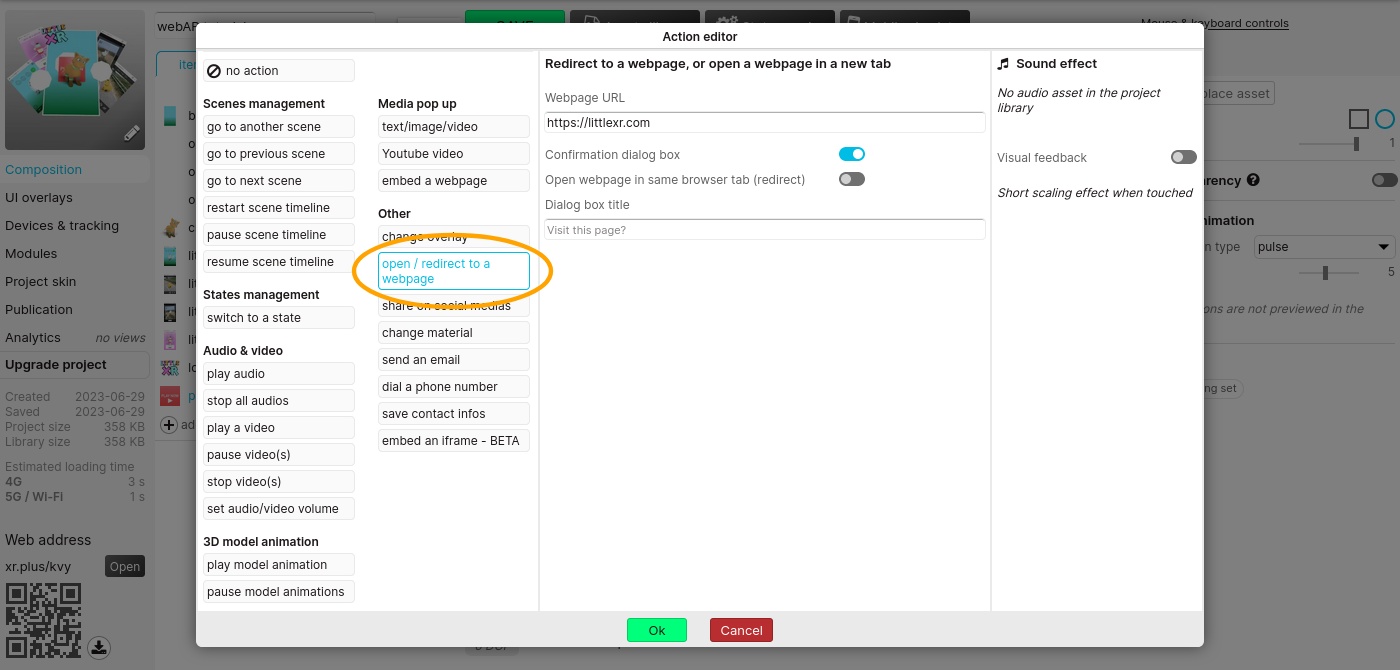
Let’s add an interaction
Click on the action button (with the thunder bolt icon) to open the action editor. Choose ‘open / redirect to a webpage’, set https://littlexr.com as the web address. When users will tap the button, they will be redirected the his website.
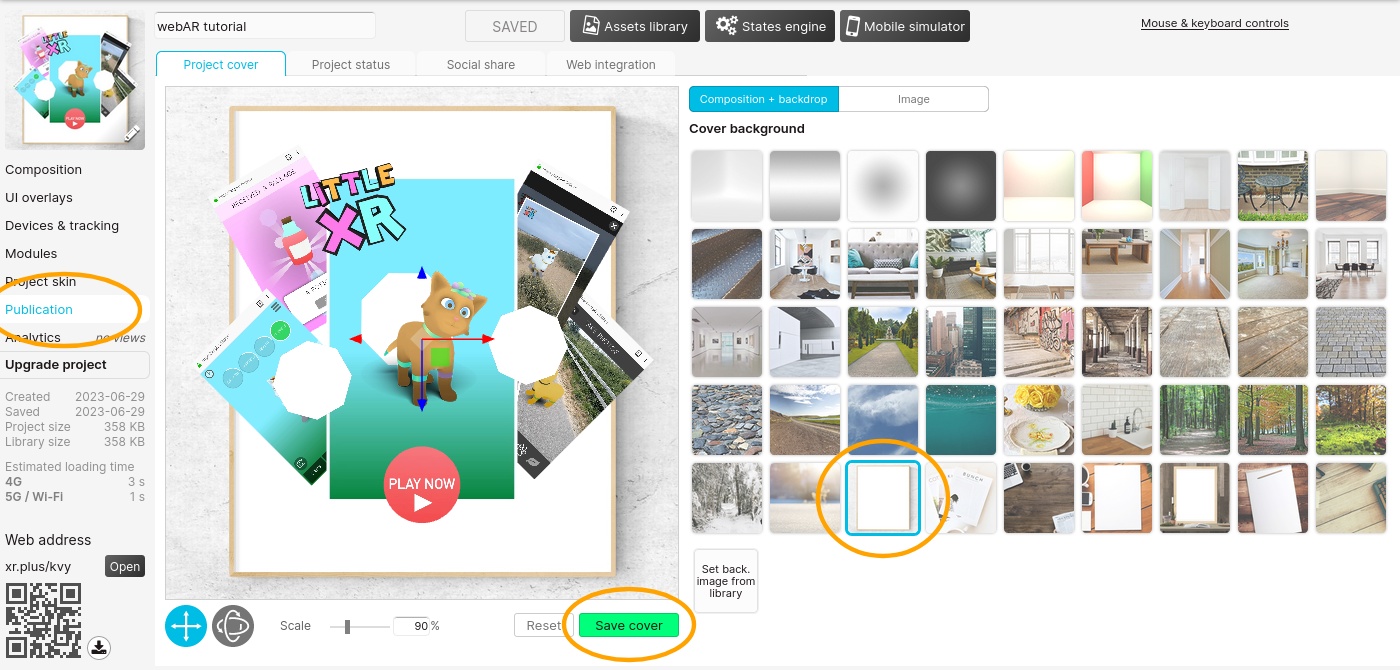
Almost done, now in the ‘publication‘ tab, choose a cover background, press the ‘save cover’ button.
Above the QR code, you can see the public link to you scene, in this case: https://xr.plus/kvy (yours will be different).
Type this web address on your phone web browser or scan the QR code to view the project in web augmented reality.
Voilà!