
Let’s learn how to add advanced interactions to XR.+ projects using the states engine.
For this tutorial we’ll be using 3 3D primitives: a cube, a sphere and a cylinder.
This tutorial will explain how to create states and buttons to hide and show those 3 objects.
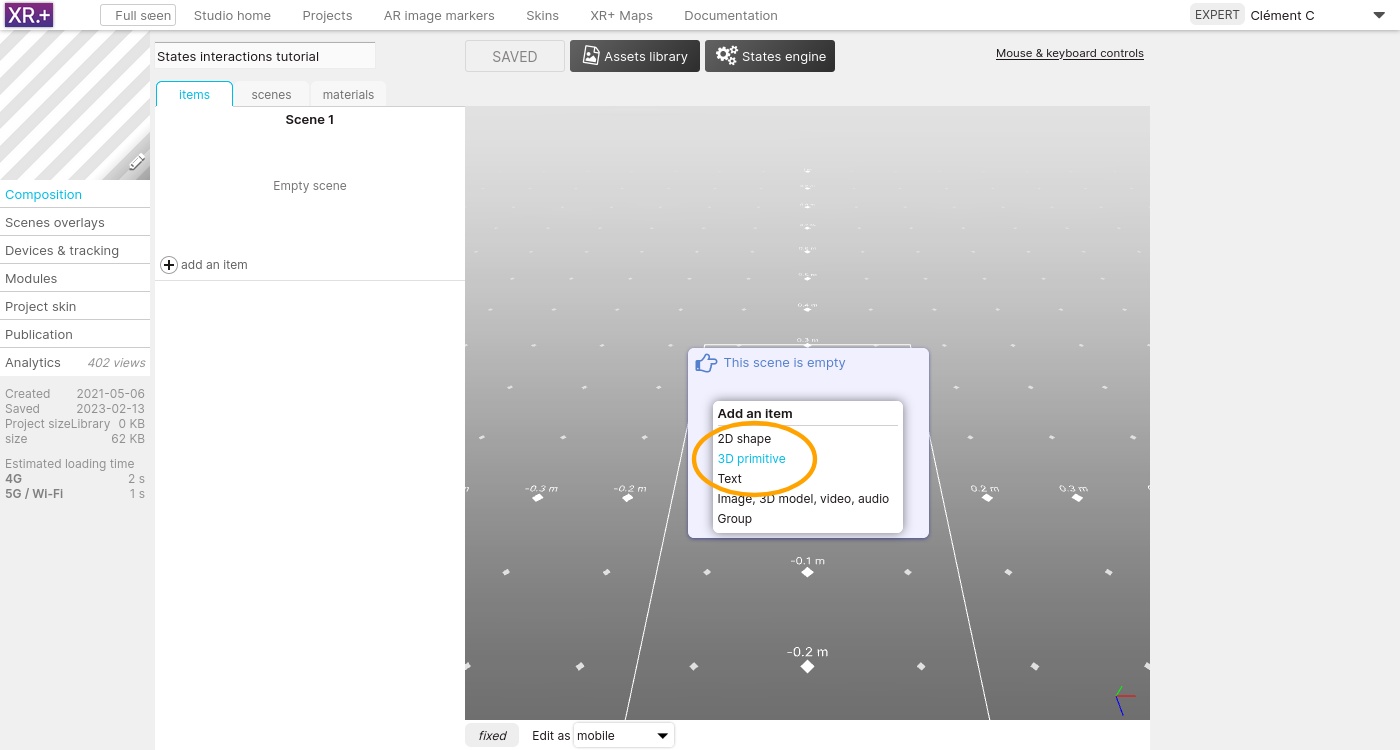
Create a new project in the studio, and add the first primitive: a cube.
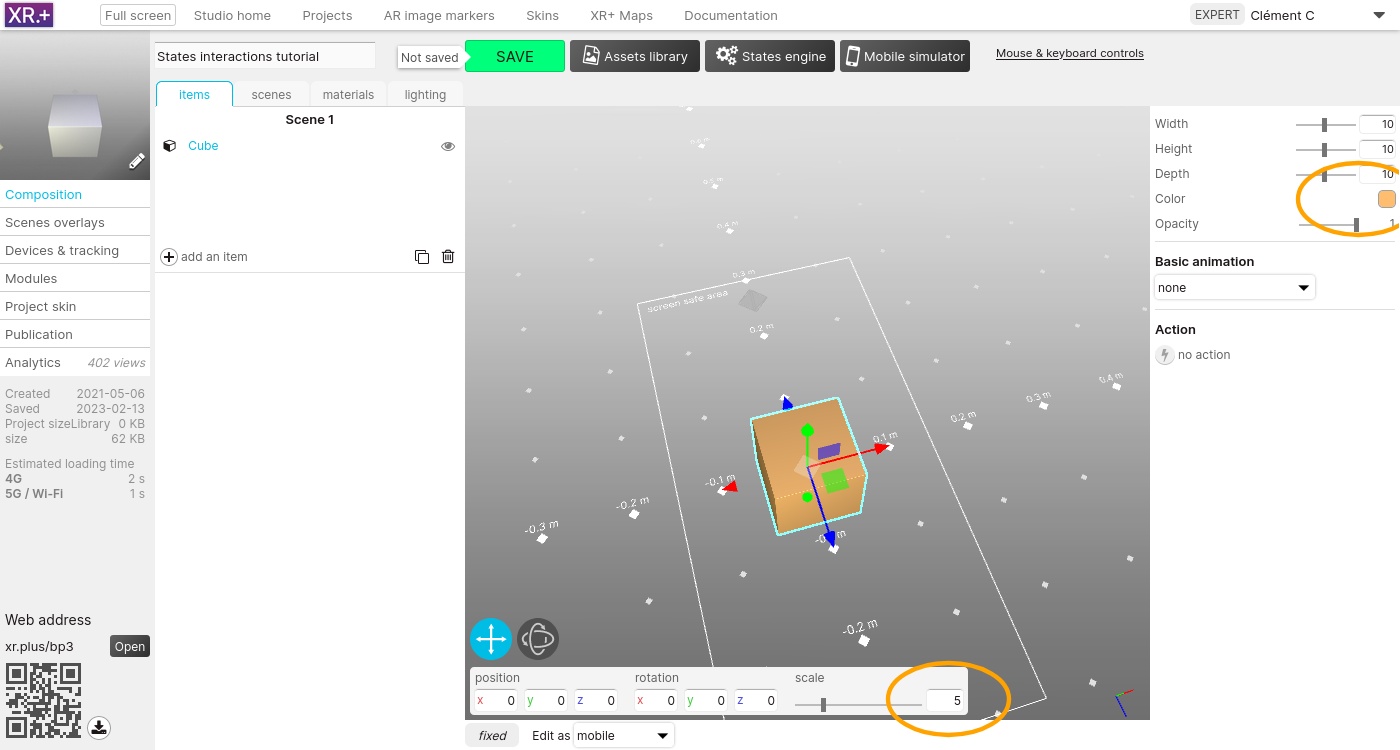
Set its scale to 5 and change its color to orange
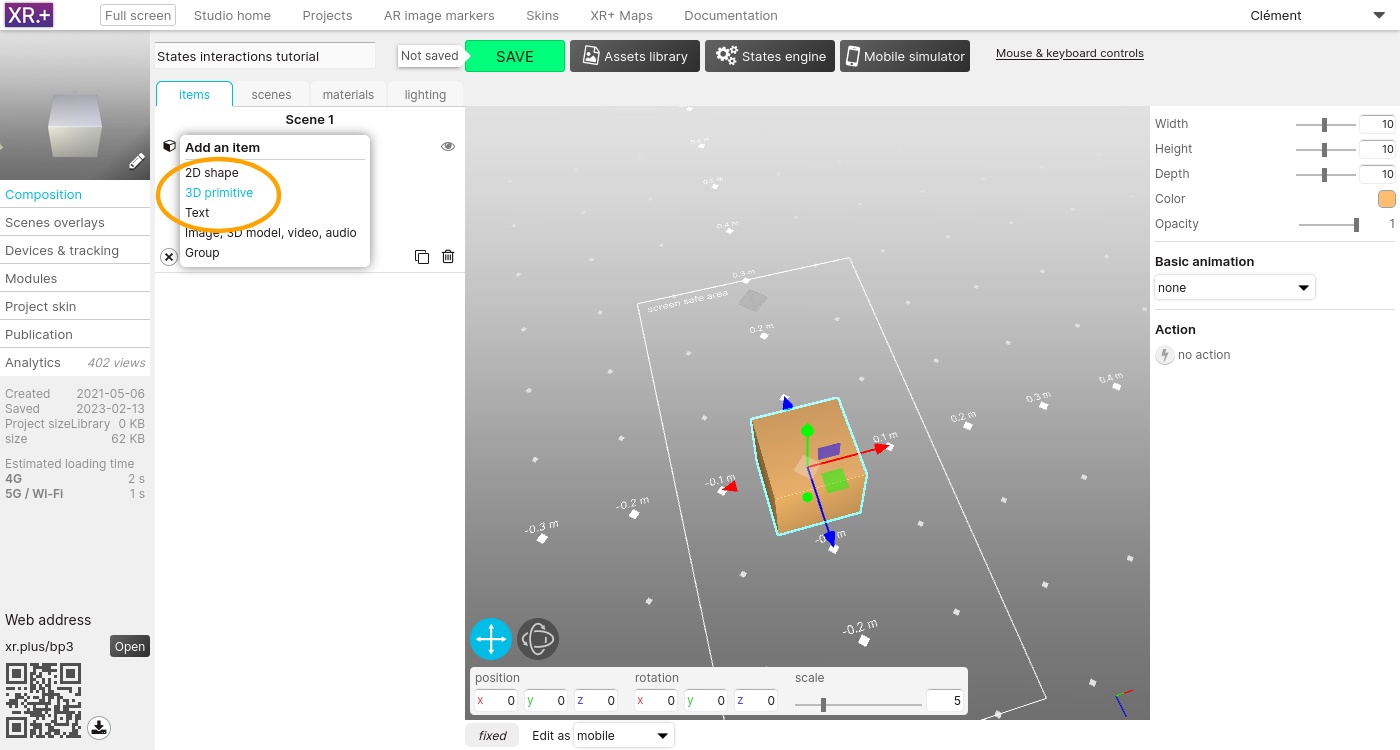
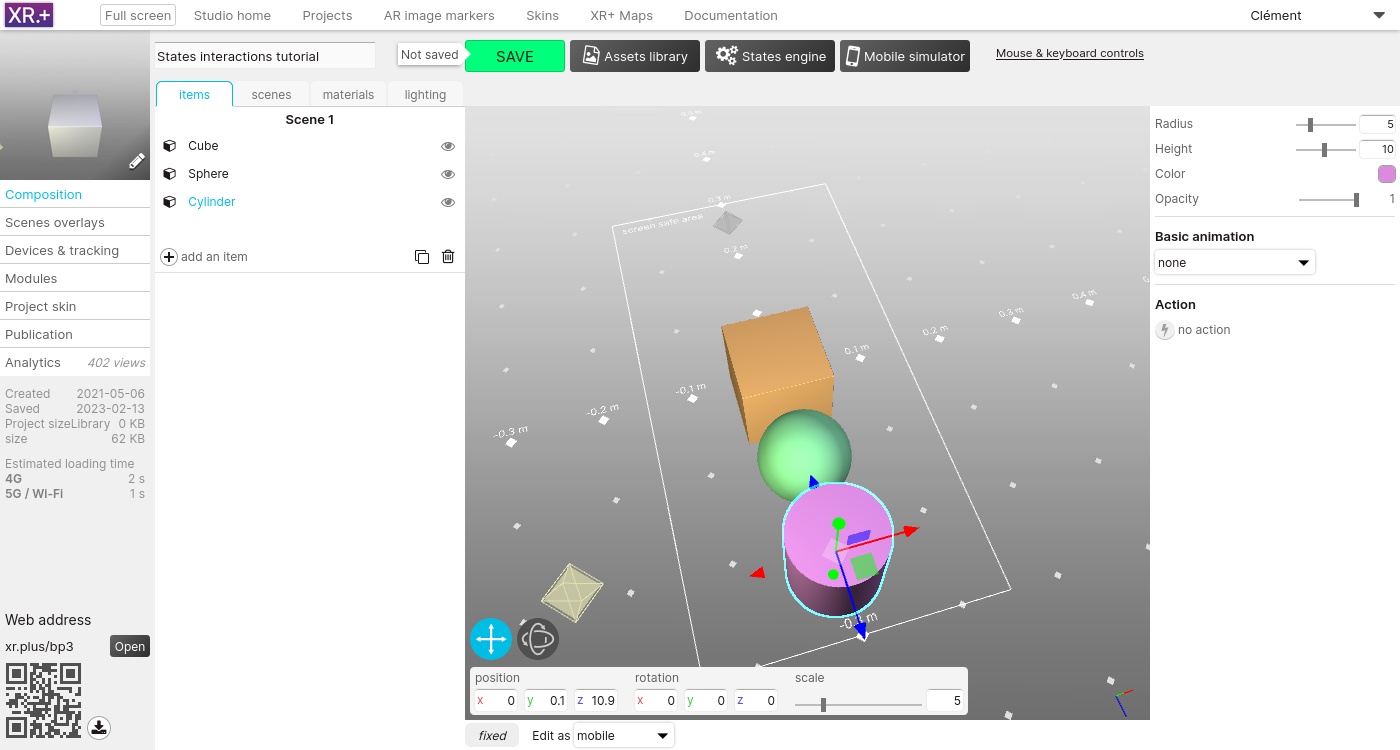
Add a sphere and a cylinder. Set their scale to 5, edit their color, and move them, away from the cube
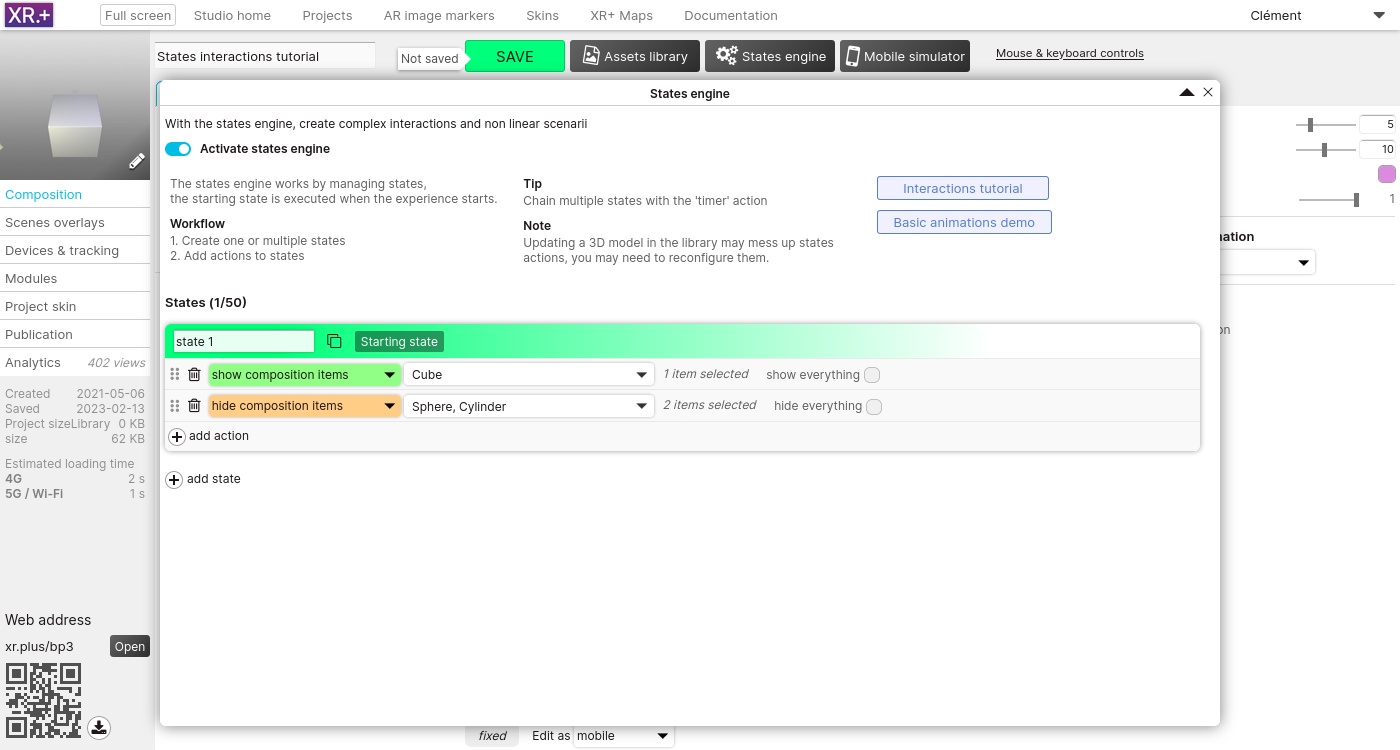
In the top area, click the ‘States engine’ button to open the states engine, and activate it.

For now there is only one state, the default one. This defaut state is applied as soon as the project is started. States actions are applied when a project switches into the corresponding state.
On this first state, we’ll only show the cube and hide the sphere and the cylinder. To do so, we need 2 actions.
The first action will show the cube, the second one will hide the 2 other items.
Let’s create another state, this new state will only show the sphere. Again, we need 2 actions: one to show, another one to hide. Finally, the third state will show only the cylinder.
The 3 states now look like this, each with 2 actions:

Now that we have created our 3 states add added action to each of them, we will use overlays buttons to switch between them.
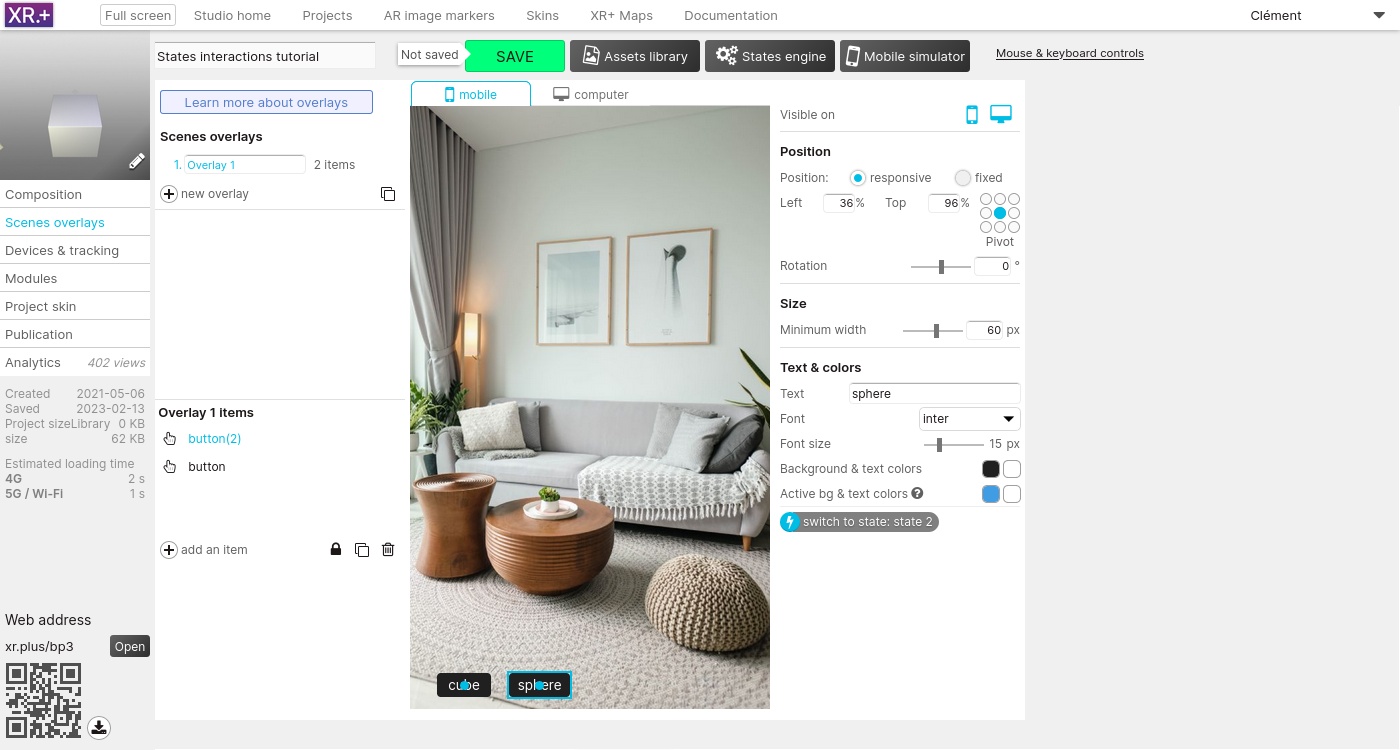
Go the ‘Scene overlays’ and add a first button to switch to the state 1.
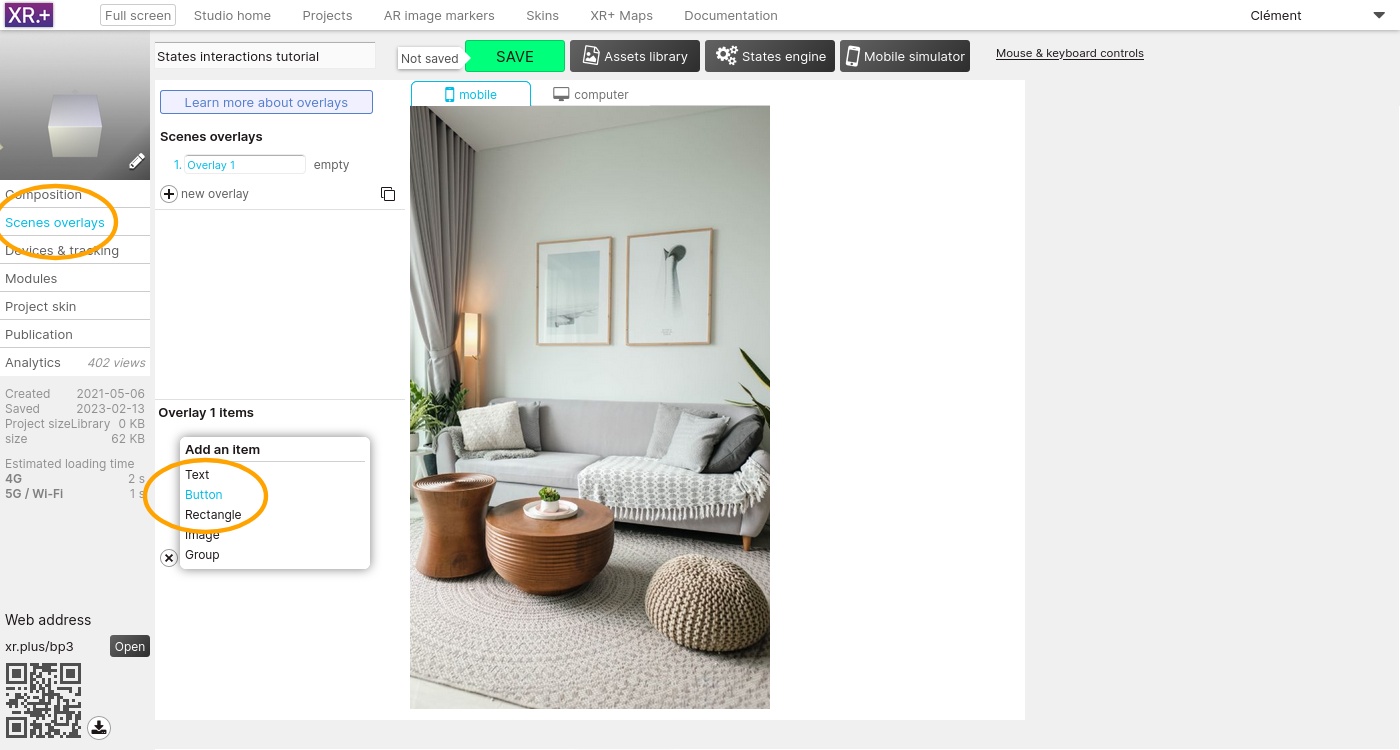
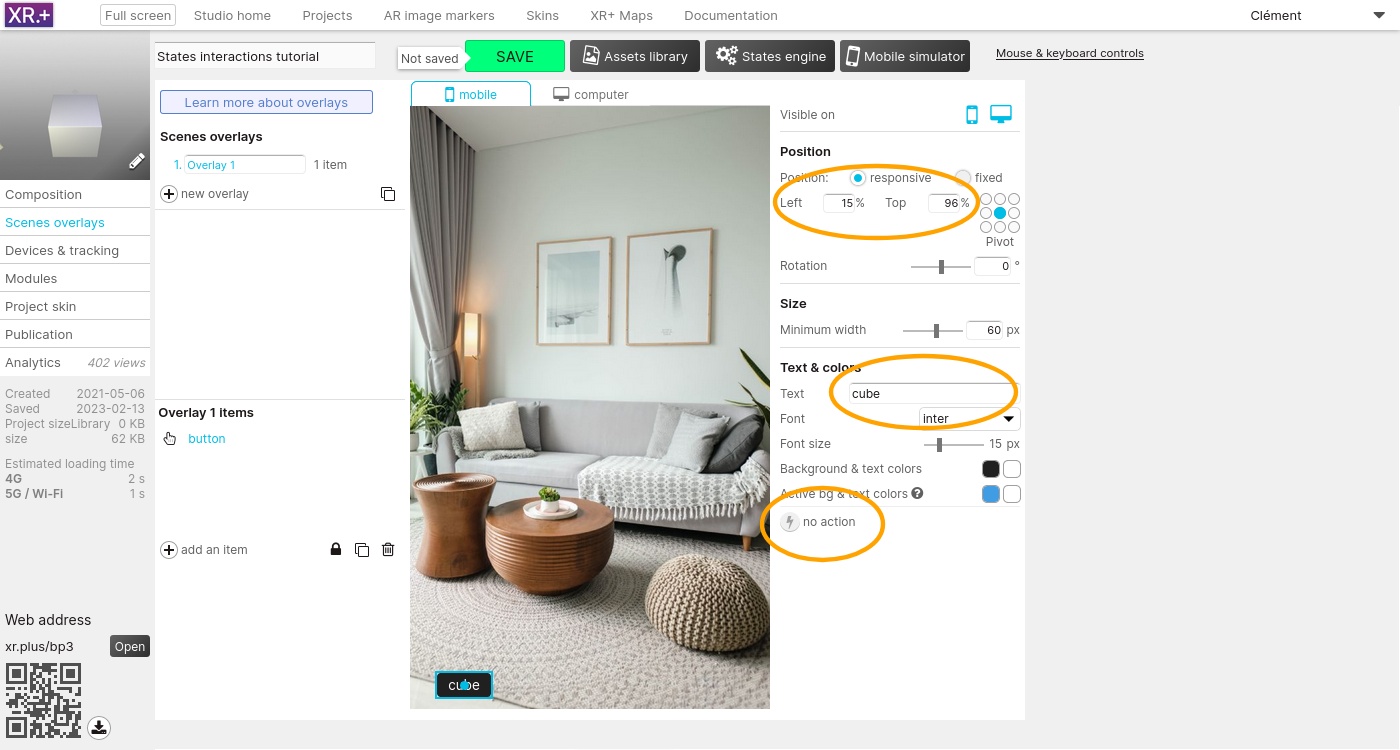
Edit its position, text, and assign it an action
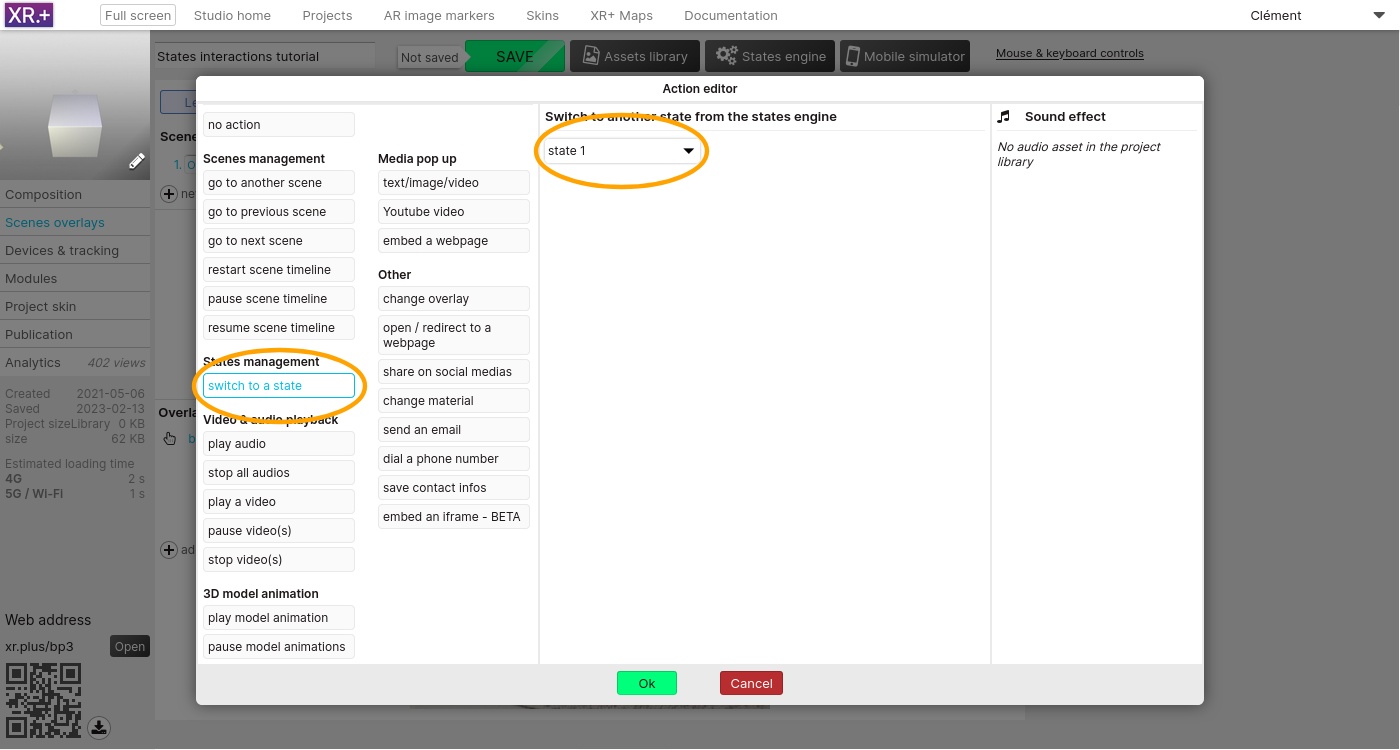
We need 3 buttons: one for each state. The second button will switch to state 2, and the third button will switch to state 3.

You can now test your project in the mobile simulator, in your computer web browser or in your phone browser by scanning the QR code.
Or you can test directly this tutorial project: https://xr.plus/bp3